Put Two Photos Side by Side: The 60-Second Workflow for Service Business Before-and-After Posts
I used to put two photos side by side using a design app that charged me $40/month and required six clicks to find the combine-two-photos function buried somewhere between "animated social kit" and "brand kit manager." Every house wash, every roof clean, every gutter job — 12 minutes per post. I was spending two hours a week on photo production for posts that should have taken five minutes total. I eventually built a different tool. But first, here's the actual workflow.
What Does It Mean to Put Two Photos Side by Side?
To put two photos side by side means joining two separate images into a single exported file — usually a before-and-after — with the photos sitting next to each other in one frame. For service businesses, a side by side photo is the highest-performing post format on Google Business Profile because it compresses a transformation into a single scroll-stoppable image. Two photos prove the work. One photo proves nothing.
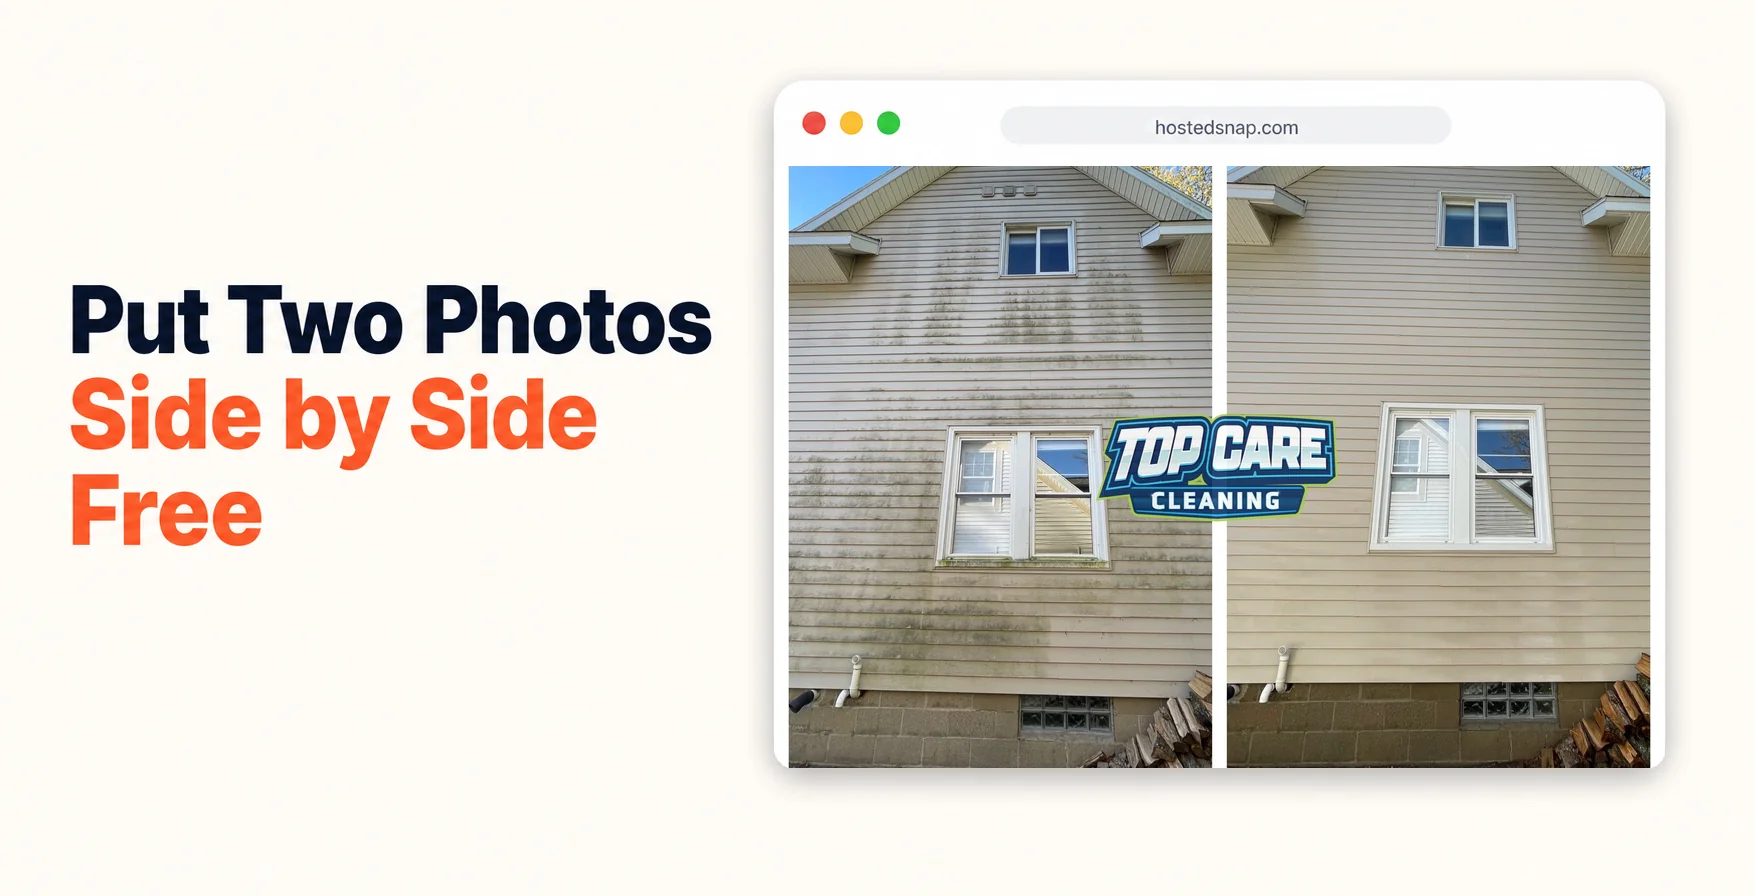
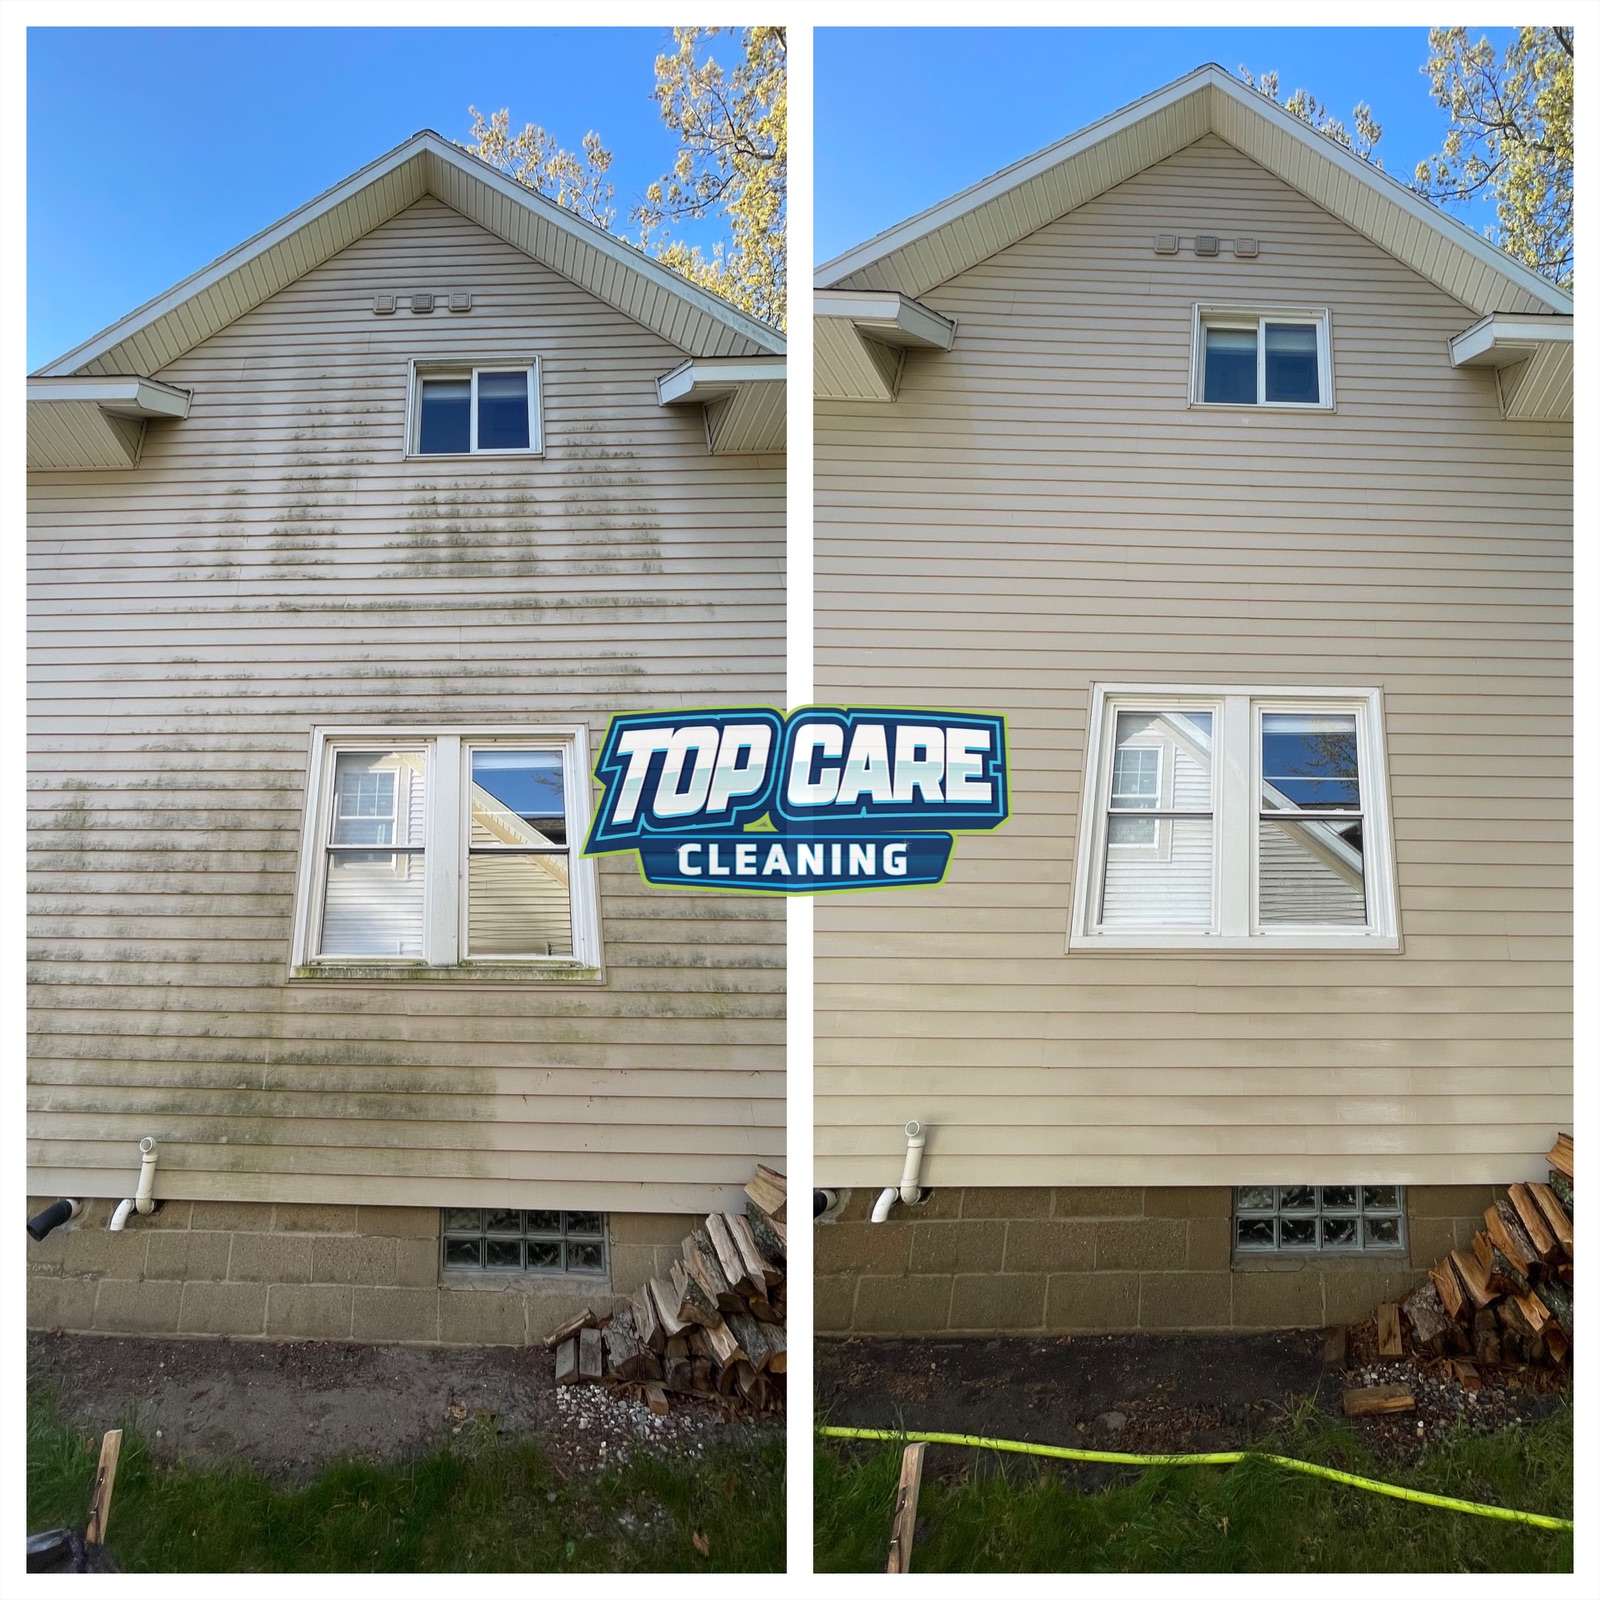 Top Care Cleaning (Grand Rapids, MI) house washing 3/4 view — this is the exact type of before-and-after we put two photos side by side for a 60-second GBP post every Tuesday.
Why Service Business Owners Should Bother With This Format
Most service-business owners already understand that before-and-after photos work. What they underestimate is how much the combined format outperforms two separate uploads.
A single "after" photo asks the viewer to imagine the before. That's mental work. A split image removes the mental work — both halves are right there, same angle, same address, before and after. The viewer registers it as evidence, not marketing.
That distinction matters when your potential customer is picking between five companies with similar star ratings and similar pricing. Evidence beats marketing every time.
Why Google Business Profile Specifically Rewards This
Google Business Profile recommends posting fresh photos regularly to maintain visibility in local search. A before-and-after post does double duty: it satisfies the freshness signal AND it's the single most compelling visual format for a service-based business.
Top Care's GBP posts that include a combined before/after get roughly 3-4× the views of single-photo posts. I don't have agency-grade analytics — I have four years of running my own profile and a consistent Tuesday posting habit. That's enough to bet on.
The Trust Signal a Single Photo Can't Deliver
A watermarked stock photo of a clean house tells the viewer nothing. A pristine "after" shot with no before is one step better but still unconvincing. A genuine side-by-side — same angle, same corner of the same house, dirty on the left and clean on the right — is hard to fake. Viewers register it as documentation.
This is especially true for house washing, gutter cleaning, and roof cleaning, where the skeptical customer wonders if the "dramatic transformation" is partly camera angle. A locked-angle side-by-side removes that doubt.
How to Put Two Photos Side by Side — The Exact Workflow
This is the step-by-step. I'll walk through the exact sequence I run for Top Care's weekly GBP post. Once you have it down, it takes under 60 seconds.
Step 1: Pick Your Before Photo
Open your camera roll, Dropbox, or Google Drive. Find the before photo from the job. Look for two things: correct orientation (portrait or landscape — pick one and stick with it) and a clear angle that shows the dirty or untreated surface at maximum impact.
If the before was shot in portrait and the after was shot in landscape, fix that mismatch now in your native photo app. Don't wait until you're inside the combining tool.
Step 2: Pick Your After Photo — Match the Angle
The after photo needs to match the before as closely as possible. Same distance from the subject, same height, same compass direction. If the before was shot from the left side of the driveway at 15 feet back, the after goes from the same left side at the same 15 feet.
This is the step most people skip. Then they wonder why their side-by-side looks like two different properties. Same angle is 80% of the post quality.
Step 3: Drop Both Photos Into Hosted Snap
Go to Hosted Snap. You'll see two upload slots immediately — no navigation, no onboarding flow, no signup wall in the way. Drop the before in the left slot and the after in the right slot.
Hosted Snap is the tool I built because I was paying influencer-tool-priced-for-influencers subscriptions to put two photos side by side. The existing tools were freight-train-to-deliver-a-pizza situations. The tool does one job.
Step 4: Choose Vertical-Split or Horizontal-Stack
For most house washing and gutter cleaning shots — where the subject is a tall structure — pick the vertical-split. Before on the left, after on the right, thin divider down the middle.
For wide subjects (long driveways, a full fence line, a roof shot from across the yard), use horizontal-stack. Before on top, after on bottom.
Don't overthink the layout choice. The wrong split is still better than no post.
Step 5: Add Small Before/After Labels (Optional)
If the transformation is obvious — siding that goes from green algae to bright white — you don't need labels. If the transformation is subtle (window cleaning, blind cleaning), add small "Before" and "After" pill labels in the upper corners. Low-contrast, small, corner-placed. They should not dominate the image.
Labels burned large across the center of the image are a mistake. The photo is the proof. The labels are a pointer, not the headline.
Step 6: Export at Native Resolution
Click download. The file should export at the full resolution of your source photos. If it comes back as a downsampled 720p image, the tool is choking your resolution to upsell you on a Pro tier. Move to a different tool.
Hosted Snap exports at native resolution. No Pro tier required. Honest-free is the whole point.
Step 7: Post It — Three Channels, One Asset
For Top Care, the exported side-by-side goes to three places:
Google Business Profile as that week's post. Caption template: service type, neighborhood, one technical detail ("soft wash, not pressure"), one trust signal ("family-owned since 1980, fully insured"). The photo does 90% of the work.
Instagram and Facebook later the same day. Same image, longer and more conversational caption. If the customer consented, we'll include their first name.
Estimate emails when quoting new leads in the same neighborhood. We attach 2-3 side-by-sides of recent jobs nearby. Close rate on quotes with embedded before-and-afters runs noticeably higher.
One asset, three deployments. That's the whole content system.
The Mistakes That Make a Side-by-Side Look Amateur
I've made every one of these. Learn from my bad posts.
Different Angles Between Before and After
This is the most common mistake and the one that kills the post's credibility the fastest. Before shot from 20 feet, after shot from 6 feet. Before in landscape, after in portrait. The viewer can't mentally overlay the two images, so the transformation reads as suspicious instead of convincing.
Fix: drop a GPS pin or take a screenshot of where you stood before you leave the job site to shoot the after. Return to the exact same spot.
Mismatched Lighting
The before was shot at 8am with raking side light. The after was shot at 2pm with flat overhead sun. The house looks "cleaner" in the after partly because of the light, not the cleaning. The viewer's subconscious registers this even if they can't articulate it.
Fix: shoot before and after within the same lighting window when possible. Morning before, morning after. Or collect both on overcast days — flat, even light makes the transformation read as pure chemistry, not sun position.
Logo Bigger Than the Work
A large company logo watermarked across the center of the image announces "this is marketing" the moment the viewer's eye hits it. Engagement drops. I learned this the hard way after watching Top Care's side-by-side performance fall on posts where I cranked the logo size.
Put a small logo or text tag in the corner. Or skip in-image branding entirely and put your name in the caption. The work is the proof. The logo is just the invoice.
Burning Text Into the Image
Long captions embedded directly into the photo ("We cleaned this driveway in 45 minutes — call us for a free estimate!") destroy the composition. Those captions belong in the post text or the email body. The image stays clean.
If the side-by-side can't communicate the transformation without burned-in explanatory text, it's a weak before-and-after. Reshoot it.
Compressing to Square When Your Photos Are 4:3
Most two photos side by side tools default to 1:1 square output because Instagram normalized square. The result: both source photos get cropped inward to fit the square frame, and you lose the corners — which are often where the dirty detail lives that makes the before look bad.
Fix: use a tool that exports at the native aspect ratio of your source photos. Square is fine if you want it. But for GBP and Facebook, native ratio is usually better.
Where Before-and-Afters Fit in a Service-Business Marketing Cadence
One side-by-side per week is the sustainable rhythm. More than that and you're competing with your own posts for impression share on GBP. Less than that and you lose the recency signal the algorithm rewards.
At Top Care, the schedule looks like this:
Tuesday: GBP post goes up. House washing, roof cleaning, gutter job — whatever the best transformation from the previous week was.
Tuesday afternoon: Same image to Instagram and Facebook.
Rolling: Any lead quote sent that week includes 2-3 neighborhood-relevant side-by-sides.
Occasionally: If a customer leaves a Google review mentioning a specific job, we reply and drop in the side-by-side of their actual house. It's a public signal to anyone reading that review that the work was real and we remember the customer.
That's the whole cadence. It's not complicated. The constraint that kept it from happening consistently was production time, not ideas. Once production dropped below 60 seconds, the cadence became automatic.
What Makes a Good Source Photo
The best before photos are shot the moment you arrive on site, before any equipment is unloaded. The homeowner sees your truck pull up — you have 30 seconds to capture the "worst possible state" of the surface before the crew starts work.
The best after photos are shot from the same spot immediately after wrap, before the equipment goes back in the truck. Wet concrete and siding photograph darker — if the result looks better in the photo than the customer expected, great. Don't wait until everything dries to shoot it.
Using the Create Side by Side Photo Workflow on Mobile
Most of this workflow works just as well on a phone as on a desktop. The browser-based tools — including Hosted Snap — work on mobile without a native app install.
The one adjustment for mobile: rotate your before and after photos to the correct orientation in your phone's native photo app before uploading. Mobile browsers handle file uploads well, but they handle on-the-fly rotation inconsistently. Fix the rotation outside the tool, not inside it.
The side by side photo editor article covers the cases where you need to make adjustments to the individual photos — crop, brightness, color balance — before combining them. That's a different workflow and a different tool. For the standard before-and-after where the photos are already good, the combining step is all you need.
FAQ: Put Two Photos Side by Side
What's the fastest way to put two photos side by side?
Open a single-purpose combining tool (not a full design suite), upload your before and after into the two slots, select vertical-split or horizontal-stack, and download. In a purpose-built tool with no navigation overhead, the actual combining step takes under 30 seconds. Total time including finding the photos: about 60 seconds once you have the habit.
Do I need to resize the photos before combining them?
No — any decent combining tool handles photos of different sizes and crops or scales them to match. The one thing you should fix manually is orientation: if one photo is portrait and the other landscape, correct that before uploading. Orientation mismatches are harder for tools to handle cleanly.
Should I put before on the left or right?
Convention is before on the left, after on the right. Viewers read left-to-right, so the "start state → end state" progression reads naturally in that direction. There are no GBP or Instagram rules about this, but before-left/after-right is what most viewers expect.
Can I put two photos side by side on my phone without a desktop?
Yes. Browser-based tools work fine on mobile Safari and Chrome. You don't need a native app. Open the combining tool in your mobile browser, upload from your camera roll, choose a layout, download. The exported file saves directly to your photos.
How do I put two photos side by side without a watermark?
Use a tool that is honestly free — one where the free tier exports at full resolution with no branding attached. The tools that charge for watermark removal are using a bait-and-switch model. They're not free; they're free-with-permanent-advertising-attached. A genuinely free tool doesn't put its logo on your work.
What resolution should the exported side-by-side be?
As high as your source photos allow. GBP and Facebook both handle high-resolution images well. Instagram compresses on upload anyway. The mistake to avoid is using a tool that quietly downsamples your output to push you toward a paid tier — you end up with a 720p combined image from two 12MP source photos.
How many times a week should I post before-and-afters on GBP?
Once a week is ideal. Post consistently — same day, every week — rather than batching three posts in one day and going quiet for two weeks. GBP's algorithm rewards recency and consistency, not volume spikes. One honest side-by-side every Tuesday beats three posts in a day followed by silence.
Does the format work for services that don't have a dramatic visual transformation?
For subtle transformations — window cleaning, blind cleaning, commercial floor polishing — the format still works, but the framing shifts. Instead of a before-bad/after-good structure, use a process-plus-result structure: one photo of the technician doing the work, one photo of the finished result. The labor visible in the first photo provides the trust signal that the visual contrast normally provides.
I Built Hosted Snap Because Putting Two Photos Side by Side Should Take 60 Seconds
I was paying $40/month and spending 12 minutes per photo to put two photos side by side for Top Care's weekly GBP posts. Two hours a week of production time for content that any free tool should handle in under a minute. I kept waiting for someone to build the right thing. Eventually I built it.
Hosted Snap is the tool I wish existed in 2020. Free tier is honest-free — no watermark, no influencer-tier subscription, no design-suite overhead. It does one job: combines two photos cleanly and gets out of your way so you can post the before-and-after and get back to running the actual business.
If you want the full side-by-side strategy — patterns, use cases, cadences — the pillar article is at side by side photo. This article is the how-to. That one is the why.
About Alex Host
I'm Alex Host. I run Top Care Cleaning in Grand Rapids, MI — a family cleaning business my dad and uncle started in 1980. I work there with my brother. We do house washing, gutter cleaning, roof cleaning, window cleaning, carpet cleaning, and Christmas light installation. 400+ Google reviews. Forty-six years of family operation.
I also build SaaS tools for local service businesses — the kind of tools I wish existed when I was paying $4,000/month in Google Ads and getting nickel-and-dimed by every "free" app in my workflow. The whole portfolio lives at hostedbrands.com. Hosted Snap is the first free tool in the stack. There will be more.
If you're a service-business owner who's tired of paying influencer prices for tools you only use twice a week, I built the stack for us. The free tools are honest about being free. The paid stuff is honest about being paid. I built Hosted Snap specifically because the 60-second job of putting two photos side by side was costing me two hours a week — and it shouldn't cost you anything.