Side by Side Photo Editor: What Service Businesses Actually Need It to Do
I spent roughly $600 a year on a side by side photo editor that had 47 features I didn't need and three features I did. It took me 12 minutes to produce a before/after for Top Care Cleaning that should have taken 60 seconds. Most of those 12 minutes were spent navigating menus, dismissing upgrade prompts, and figuring out why my before photo was suddenly cropped wrong. There's a simpler framing: I needed a tool that could crop, align, label, and export. That's it. Four things. The rest is freight-train-to-deliver-a-pizza.
What Is a Side by Side Photo Editor?
A side by side photo editor is a tool that lets you adjust two photos individually — crop, resize, align — before joining them into one combined image. The key word is "editor." A basic combiner just stacks two photos next to each other. An editor gives you control over how each photo looks and fits before the final merge. For a service business posting weekly before/afters, the editor step is what separates a clean professional post from a sloppy one.
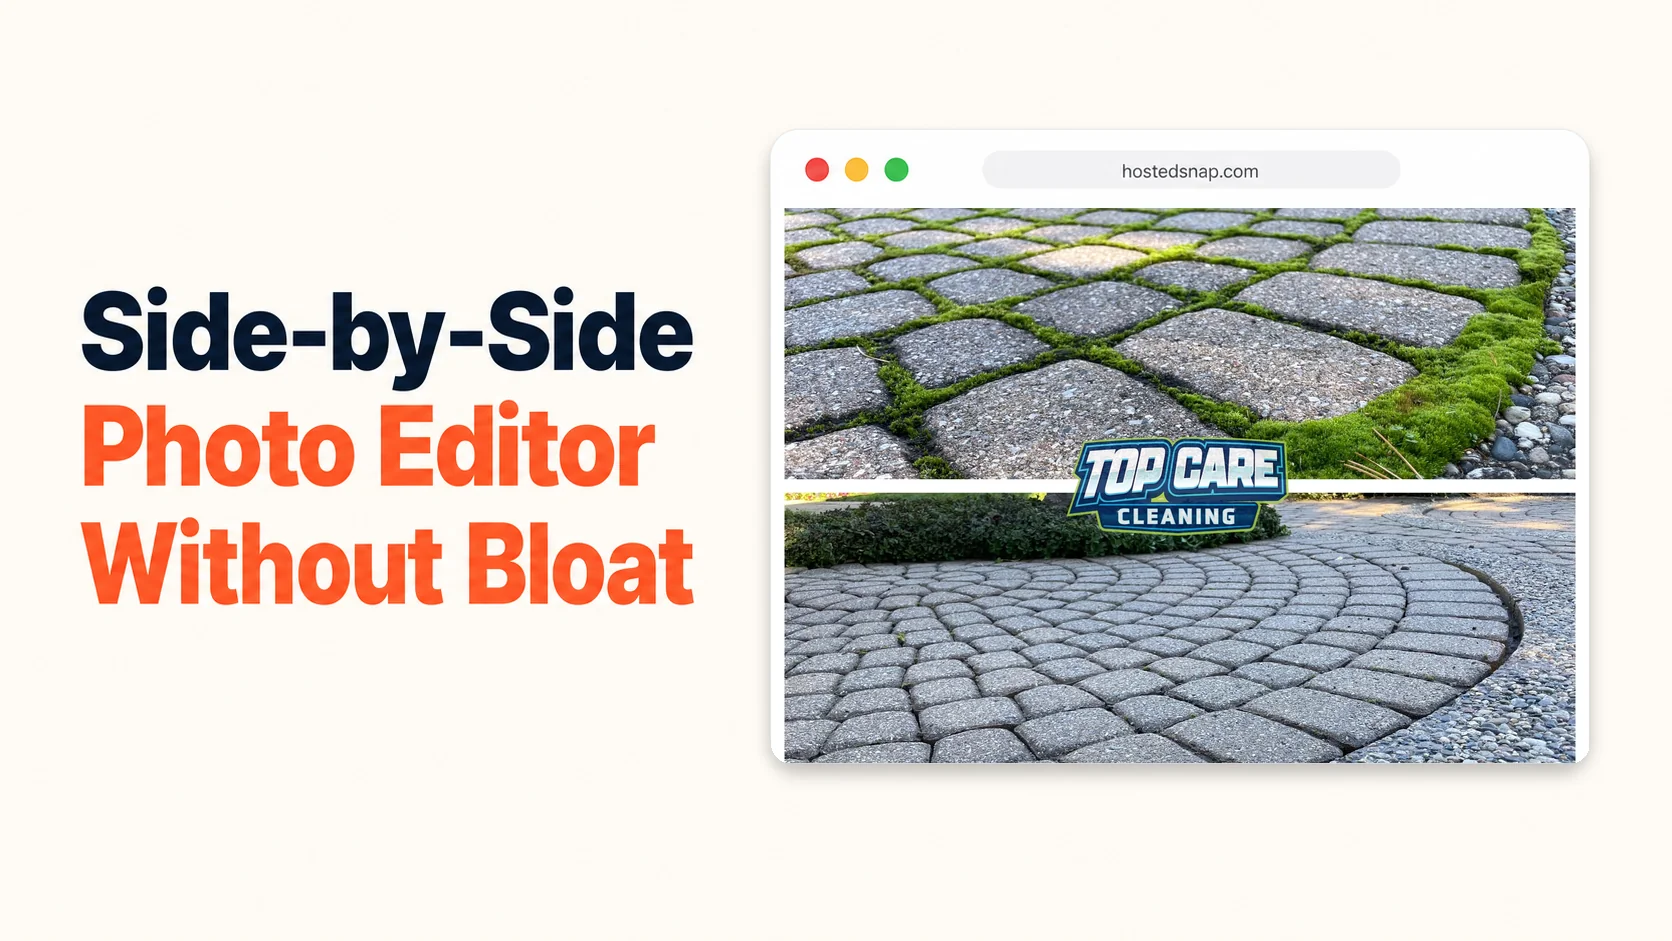
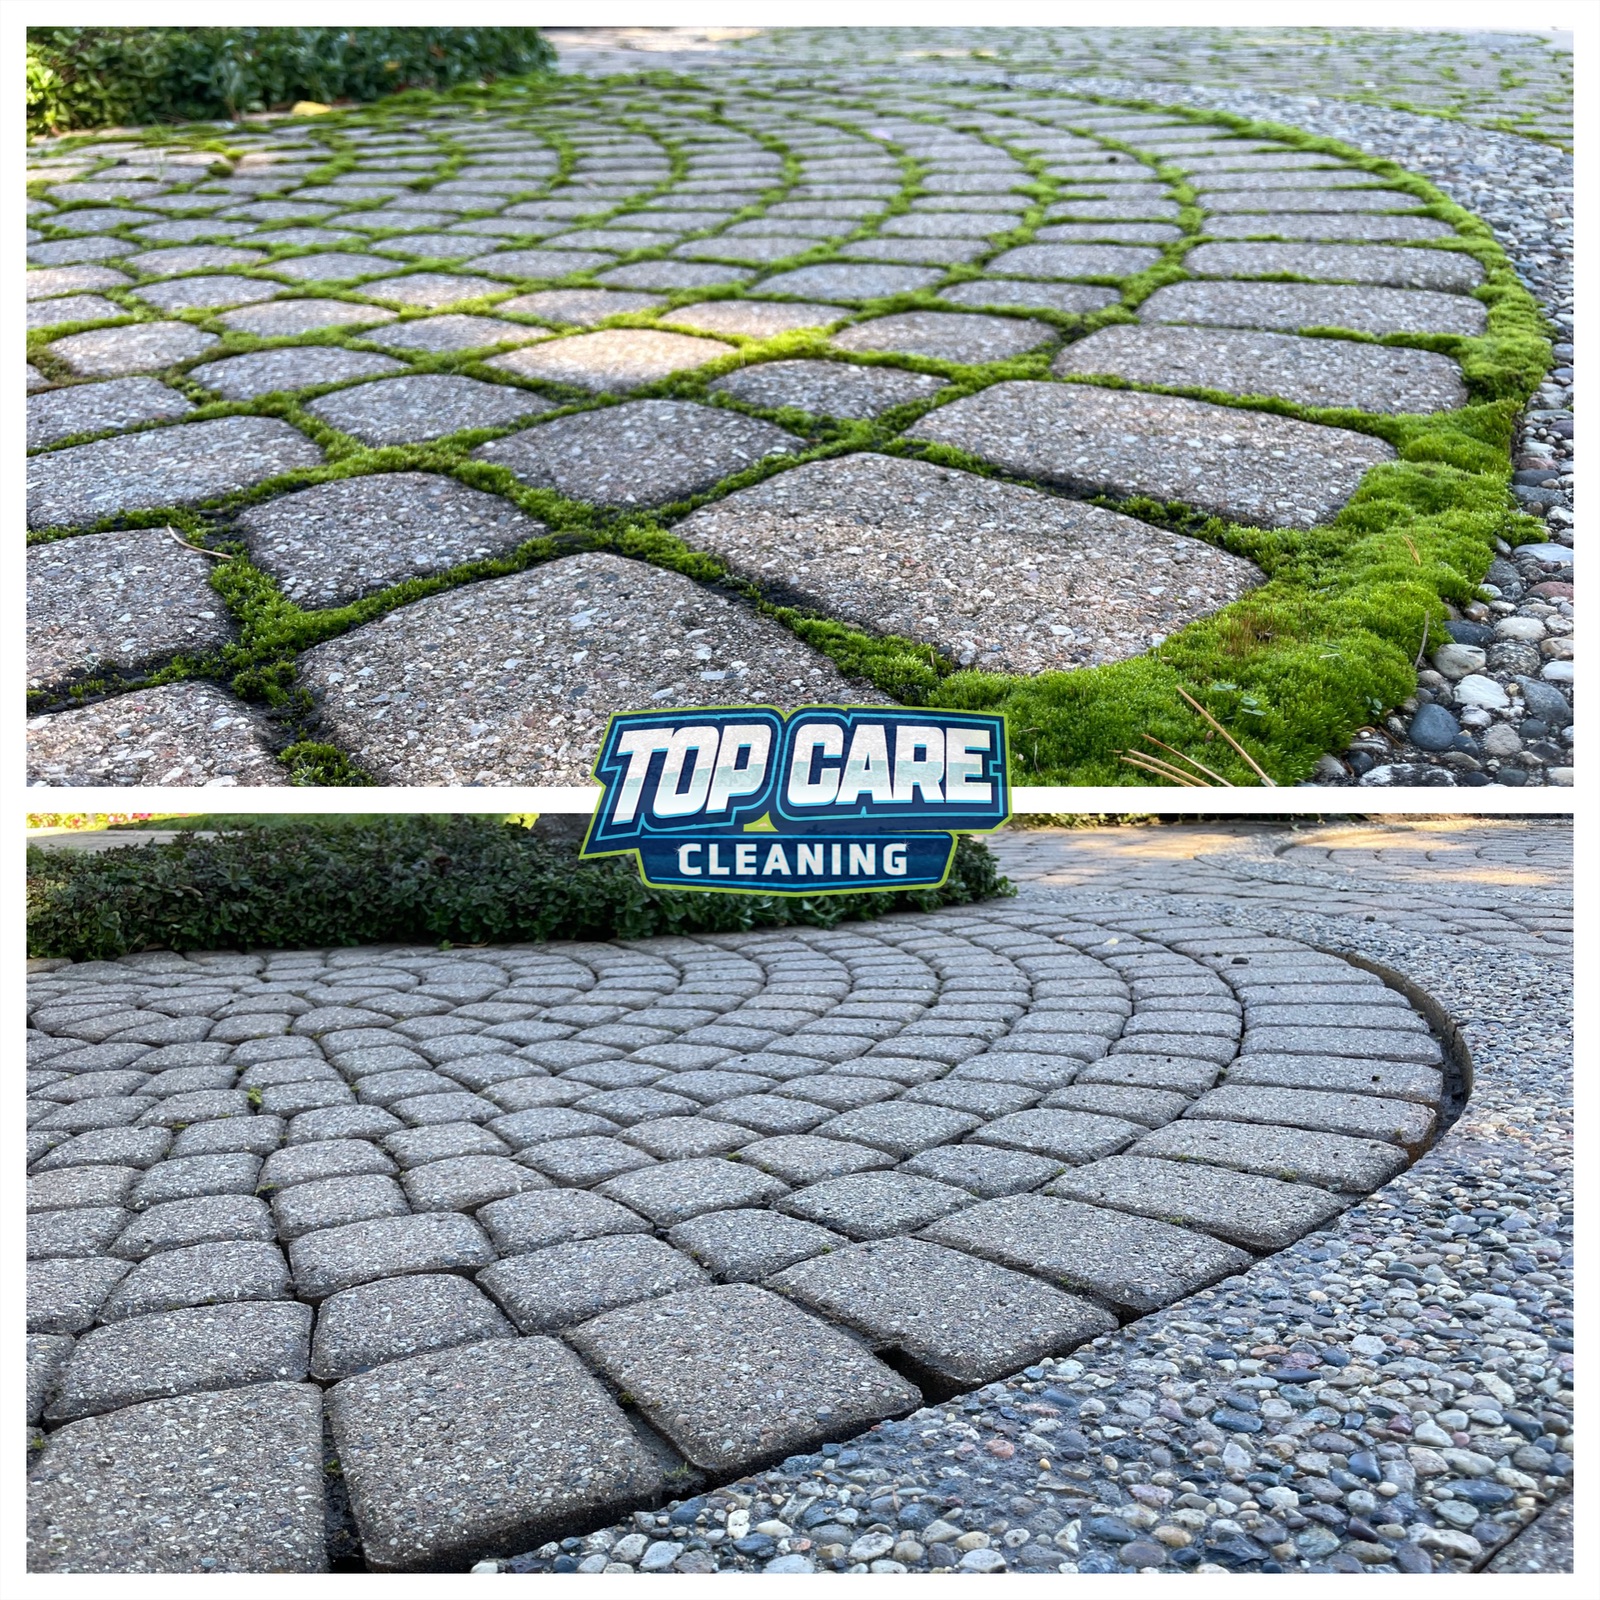 Top Care Cleaning (Grand Rapids, MI) brick wall power wash — dirty on the left, clean on the right. This is a finished side-by-side, cropped and aligned in under a minute, ready to post directly to Google Business Profile.
The Three Editing Steps That Actually Matter
For a service business, a side by side photo editor needs to do exactly three things well. Everything else is optional at best and a distraction at worst.
The three things: crop each photo to the same subject area, align the two photos so they match in framing, and export at a resolution that isn't embarrassing on a phone screen. If a tool can't nail these three steps without a tutorial, it's not the right tool for a cleaning company, a landscaper, or any trade business posting eight side-by-sides a week.
I'll go through each one.
Crop: Each Photo on Its Own Terms
The before photo and the after photo were rarely shot at exactly the same distance from the subject. The after was usually a slightly wider shot because you're proud of the result and stepped back a little. Or the before was taken in a hurry and has a car in the corner that needs trimming.
A good editor lets you crop each photo independently before combining them. That means: select the left photo, drag the crop handles to remove the distracting edge, confirm. Then do the same for the right photo. Then combine.
Most tools that advertise "side by side editing" don't let you crop independently. They apply a single crop to both photos simultaneously. That's not editing, that's a template.
Align: The Before and After Should Look Like the Same Location
Mismatched alignment is the number one thing that makes a service-business before/after look cheap. The before shot is from eight feet away, the after is from fifteen feet away. The before is slightly tilted because you were in a hurry. The after is level because the job was done and you were relaxed.
A side by side photo editor worth using gives you per-photo zoom and position controls. Zoom the after photo in slightly to match the framing of the before. Nudge the left photo left by a few pixels to center the subject. The viewer shouldn't register any of this consciously. What they register is: "these two photos look like they belong together."
This is the thing that separates an edited side-by-side from a combined side-by-side. The side by side photo pillar covers why alignment matters for the viewer's trust response — the short version is that well-aligned photos read as evidence, misaligned photos read as collage.
Label: "Before" and "After" Without the Design Degree
Small text labels in the corners of the photos. That's all. "Before" on the left, "After" on the right. White text, small pill shape, maybe a subtle dark background so it reads on light images.
A good side by side photo editor handles this in one click. A bad one opens a full text-styling panel with 14 font choices, 8 color pickers, and three shadow options. The right answer is a single "add labels" toggle with sensible defaults. If you want to spend an afternoon on font choices, you need a design tool. For a before/after of a brick wall wash, you need a toggle.
The fourth thing — export — is addressed in its own section below, because there are enough landmines there to warrant it.
Why Most Editors Give You 47 Features When You Need 3
This isn't an accident. It's a business model.
Design tools grow features to justify subscription pricing. More features = more screenshots for the marketing page = more perceived value = easier to charge $12.99/month. The feature creep isn't about making your workflow better. It's about making the upgrade comparison slide look compelling.
The practical result for a service-business owner: you open a tool to edit two photos side by side, and you spend the first four minutes dismissing a tutorial, clicking past a template gallery, and figuring out which of the seven "layout" options is the one that just puts your two photos next to each other.
The influencer-tool-priced-for-influencers pattern is everywhere in this space. A photographer producing 400 images a day needs batch exports, preset libraries, and API access. You need to post a clean before/after of a power-washed brick wall before you drive to the next job. These are not the same user.
The side by side image maker article covers the broader "maker vs. editor" distinction if you want the framing on that. This article focuses on what the editor step specifically requires.
The Four Editing Mistakes Service Businesses Keep Making
These are the errors I see on cleaning company Google Business Profiles constantly. I've made most of them.
Mistake 1: Combining Photos Without Cropping First
The before photo has a truck in the lower-left corner. The after photo has a yard waste bag on the right edge. Both photos make it into the combined image uncropped. The viewer's eye goes to the truck and the trash bag, not the clean brick wall.
Crop each photo before you combine them. It takes 20 seconds. It's the difference between a professional post and a snapshot dump.
Mistake 2: Mismatched Dimensions with No Alignment Fix
You shot the before in portrait (phone held vertically). You shot the after in landscape (phone held horizontally). A basic combiner will output a franken-image with one tall skinny photo and one wide short photo mashed together.
The fix is either shoot both photos the same orientation (establish this as a crew habit) or use an editor that can normalize dimensions before combining. Fixing orientation in a side-by-side editor is a clumsy workaround for a field problem, but sometimes it's necessary.
Mistake 3: Exporting at a Compressed Resolution
You do the editing correctly. The combined image looks great in the preview. You download it, upload it to Google Business Profile, and it looks muddy and pixelated. The tool compressed it to reduce server costs.
Check the output resolution before you build a workflow around a tool. If the downloaded file is under 1MB for a full-width combined image, the tool is downsampling. The quality hit is visible, especially on Google Business Profile where photos sit next to competitor photos and the contrast in quality is immediate.
Mistake 4: Adding Labels That Are Bigger Than the Subject
The "Before" and "After" text labels shouldn't be the dominant element in the photo. I've seen cleaning company posts where the label text takes up 15% of the image height. The viewer reads the labels instead of the work.
Small labels in the corners. If the transformation isn't visible enough without large labels, the photos are weak. The fix is better source photos, not larger text.
The Export Landmines (and How to Avoid Them)
Export is where most editors fail service businesses specifically. Three things to check before you commit to a tool for your weekly workflow.
Resolution Capping
Some tools cap export resolution at 1080px width on the free tier. For a combined side-by-side that's displaying two photos, that's 540px per photo. On a modern phone screen, that looks soft. The paid tier unlocks "HD export." This is a classic free-with-limitation model.
The test: produce a side-by-side from two 4K phone photos and check the download file size. If it's under 2MB for a full-width combined image, the resolution is capped.
Watermarks on Free Export
The watermark-on-your-own-work pattern is still everywhere in this space. You edit the photos, align them, add labels, click download — and the exported image has the tool's logo burned into the corner.
This isn't "free." It's free advertising for the tool, at the cost of the professional quality of your business post. A cleaning company photo with a watermark looks like the business owner couldn't afford a real tool. Skip any tool with this pattern.
Format Lock-In
Some tools only export as JPG. For Google Business Profile and Facebook, JPG is fine. But if you're posting to a website or sending to a print vendor for door hangers, PNG or WebP gives you better quality at similar file sizes. A good editor exports in at least two formats.
How to Edit Two Photos Side by Side Without Wasting 12 Minutes
This is the actual workflow I run. Start to finish, it takes about 90 seconds once you've done it a few times.
Step 1: Prepare Your Source Photos First
Do your orientation fix in your phone's built-in photo editor before you open any side-by-side tool. Rotate, straighten, adjust brightness if the before and after were shot at different times of day. Getting the photos to a similar baseline before you combine them means less work inside the editor.
This step takes 30 seconds per photo. Don't skip it to save time — you'll spend twice as long trying to compensate inside the editor.
Step 2: Open the Editor Directly to Two Upload Slots
The right tool opens to a screen with two empty slots and nothing else in your way. Upload the before to the left slot, the after to the right slot. If the first screen you see when you open a tool is a template gallery or a feature tour, close the tab.
For the edit two photos side by side case specifically, a two-slot interface is the correct pattern. Anything more complex is serving the tool's marketing department, not your workflow.
Step 3: Crop Each Photo to Match
Use the per-photo crop to remove distracting edges and to match the framing of both photos as closely as possible. The goal is that both photos show the same area of the subject at roughly the same scale.
This is the editing step that makes the combined image look professional. It's also the step that most basic combiners skip entirely.
Step 4: Add Small Labels (Optional)
One click. "Before" left corner, "After" right corner. Small. Default styling. Move on.
If the transformation is obvious — a black-with-mildew brick wall on the left, a clean bright brick wall on the right — you might not need labels at all. Let the photos do the work.
Step 5: Export at Full Resolution, No Watermark
Click download. Verify the file size is appropriate for the resolution of your source photos. Verify there's no watermark. Done.
The side by side photo maker article has a more detailed breakdown of the layout-selection step if you're still deciding between vertical-split and horizontal-stack formats for your specific job types.
Where the Edited Side-by-Side Goes (and Why the Edit Quality Matters There)
An edited side-by-side performs differently from a combined-but-not-edited side-by-side on every platform where service businesses post.
Google Business Profile
GBP photos sit in a grid alongside every other photo your business has posted, plus Google's auto-collected street-view and customer-uploaded photos. A well-edited side-by-side with matched framing and clean crops stands out in that grid. A sloppily combined one blends into the noise.
The GBP algorithm rewards photo engagement. A post that gets tapped and viewed helps the business's search visibility. Editing quality is a direct input to engagement rate.
Facebook Proof Posts
Facebook surfaces photos in followers' feeds and in the business page's photo section. A well-edited before/after catches a scroll. An unedited one with mismatched framing and a watermark in the corner looks like spam.
The audience for a cleaning company on Facebook is mostly people in the service area who haven't hired yet. The photo is often the first real impression. Editing quality is trust signaling.
Estimate Follow-Up Emails
When Top Care sends a quote, we include two or three side-by-sides of recent jobs in the same neighborhood. The editing quality on these photos directly affects whether the lead reads them as evidence or marketing. Clean, matched, well-cropped photos read as evidence. Sloppy ones read as filler.
This is the highest-stakes channel for photo quality. The email goes to a person who is actively deciding whether to hire you. Investing 90 seconds in the edit step is not optional here.
Side by Side Photo Editor — FAQ
Do I need a photo editor specifically, or will a basic combiner work?
It depends on your source photos. If your before and after are shot at the same distance, same orientation, same lighting, a basic combiner is enough. If there's any mismatch in framing or dimensions — which is almost always the case in real field conditions — you need at least per-photo crop controls. That's the line between a combiner and an editor.
Can I use Photoshop to edit two photos side by side?
Yes, and it will work well. But for a service business producing 8-12 side-by-sides a week, Photoshop is a freight-train-to-deliver-a-pizza. The time cost per photo, the learning curve, and the subscription price are all calibrated for professional photo production, not weekly GBP posts. Use it if you're already using it for other work. Don't adopt it just for this task.
What's the fastest way to align two photos before combining them?
The fastest method is fixing alignment at the source — same camera position, same distance, same phone orientation for both shots. Once that habit is in place, the alignment step inside the editor becomes a minor tweak rather than a major correction. If you're retroactively combining old photos, per-photo zoom and position controls in the editor are the next best option.
Why do some tools watermark the free export?
It's a conversion funnel, not a feature. The watermark is a cost imposed on the free user to create upgrade motivation. From the tool's perspective, every post you make with their logo visible is free advertising. From your perspective, it's a permanent mark on your business's content. Use honest-free tools that don't play this game.
How do I avoid the "combined but mismatched" look?
Three habits: shoot both photos from the same spot at the same distance, fix orientation before opening the editor, and use per-photo crop to match the subject framing. If you do these three things consistently, the combined image will look intentional rather than assembled.
Should the divider line between the two photos be visible?
A thin divider (1-3 pixels, neutral color) is fine and actually helps the viewer's eye separate the two halves cleanly. A thick decorative divider distracts from the work. No divider is also fine if the photos themselves have enough visual contrast to define the boundary. This is a minor aesthetic call, not a strategic one.
What file format should I export for Google Business Profile?
JPG is fine for GBP. Keep the file size above 500KB — anything smaller is probably compressed enough to show quality loss on a phone screen. GBP accepts JPG and PNG. WebP uploads are sometimes accepted but not consistently. JPG at high quality is the safe default.
Does editing quality actually affect my GBP rankings?
Indirectly. GBP doesn't measure "photo quality" directly. But well-edited photos get more views and taps, which increases engagement metrics on your profile, which is a ranking input. The path from edit quality to search visibility runs through user behavior, not an algorithmic quality score.
I Built Hosted Snap Because the Editor Step Should Take 60 Seconds
At Top Care Cleaning, we run a weekly GBP post cycle that depends on turning around a clean side-by-side every Monday evening. For two years I was using a design suite that took 12 minutes per photo — mostly because the editing workflow was buried inside a product built for designers, not for me.
I built Hosted Snap because the four things I needed (crop, align, label, export) should not require a product with 47 features and a $14.99/month subscription. It's honest pricing, no watermark, no influencer-tier subscription. The whole point is removing the production tax so the weekly post cycle is actually sustainable.
If you want the broader context on the side-by-side format and why it works specifically for service businesses, the side by side photo pillar is where to start. This article is specifically about the editing step and why it matters.
About Alex Host
I'm Alex Host. I run Top Care Cleaning in Grand Rapids, MI — a family cleaning business my dad and uncle started in 1980. I work there with my brother. We do house washing, gutter cleaning, roof cleaning, window cleaning, carpet cleaning, and Christmas light installation. 400+ Google reviews. Forty-six years of family operation.
I also build SaaS tools for local service businesses — the kind of tools I wish existed when I was paying $4,000/month in Google Ads and getting nickel-and-dimed by every "free" app in my workflow. The whole portfolio lives at hostedbrands.com. Hosted Snap is the first free tool in the stack. There will be more.
If you're a service-business owner who's tired of paying influencer prices for tools you only use twice a week, I built the stack for us. The free tools are honest about being free. The paid stuff is honest about being paid. And the side by side photo editor case — four things, 60 seconds — is exactly the problem that started all of it.