For two years I had a Photoshop file named "before-after-template.psd" on my laptop. I'd drag two photos in, line them up, export, post. Every job, every day, every visible-result project at the cleaning company. It took five minutes a pair. We do roughly 40 pairs a week. That's something like 150 hours a year — the equivalent of about a month of full-time work — to combine two photos into one. I was the bottleneck. The phone was the answer the whole time.
The 30-Second Answer
To combine two photos into one, you need three decisions and one tool: orientation (horizontal or vertical), spacing (none or a small white gap), and destination size (Instagram, Facebook, GBP). A browser tool handles all three in under ten seconds. Native phone apps, Shortcuts, and Photoshop all work too — the differences are time and friction.
That's the whole job. The rest of this article is the layer underneath — the parts most "how to combine two photos" articles skip because they're written by people who don't actually do this every day.
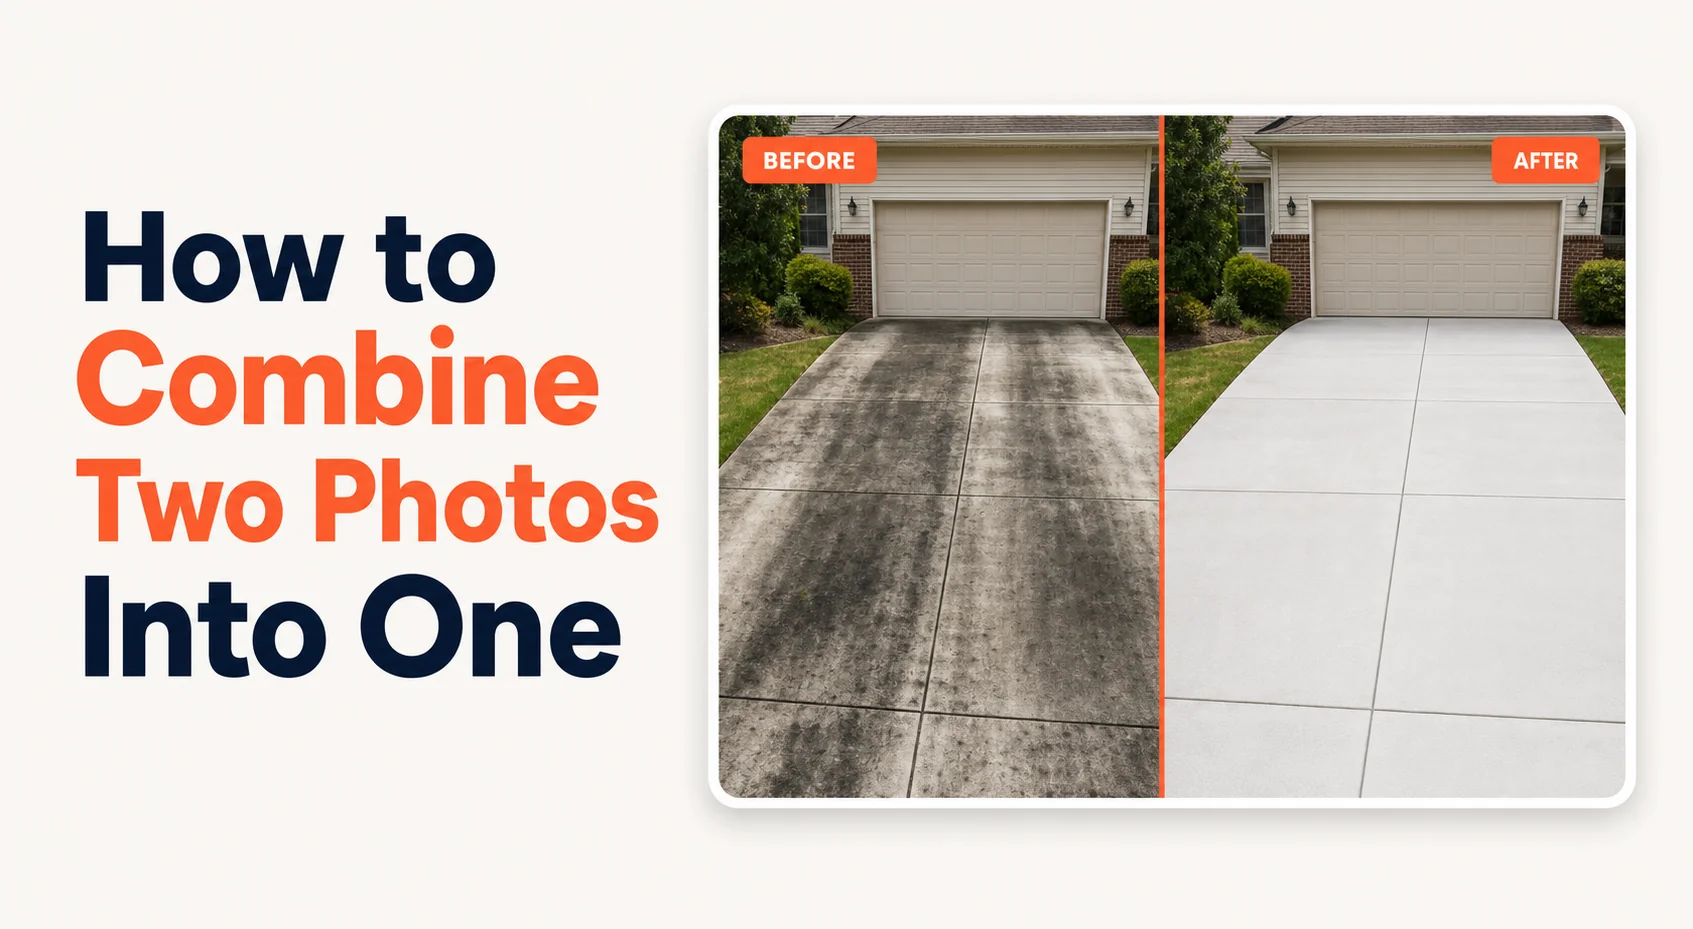
 Real job from Top Care Cleaning (Grand Rapids, MI) — green algae on white vinyl siding before, bright white after. Combining two job photos into one is the actual workflow a service business runs every week.
Why "Combine Two Photos Into One" Is Three Different Jobs
The phrase "combine two photos into one" covers three jobs that look the same but aren't.
Job 1: side-by-side comparison. Before and after. Option A and Option B. This is what most service businesses are actually trying to do. The two photos sit next to each other, the eye reads left to right, the contrast is the entire point. The full deep-dive on this specific job lives in the combine two photos side by side pillar guide.
Job 2: collage. Three or more photos arranged in a grid. A different shape and a different tool. Two-photo comparison tools usually don't handle 4-up or 9-up well. Use a collage tool.
Job 3: blending. Two photos overlapped, with transparency or masking, to look like a single image. Wedding-photo composites, double-exposures, "ghost in the room" effects. This is the artistic version of the job and the only one that genuinely needs Photoshop.
90% of search traffic for "combine two photos into one" is Job 1. Most of the listicle articles you'll find written for this keyword don't make this distinction, which is why every article reads like it was generated by the same outline. This article is about Job 1, because that's the one businesses are actually trying to solve.
The Five-Step Universal Technique
Whether you're on an iPhone, an Android, a Mac, a PC, or a Chromebook, combining two photos into one breaks down into the same five steps. The tool is just the interface around them.
1. Match the orientation. Two portrait shots make a clean horizontal pair. Two landscape shots stack nicely vertically. One of each looks crooked unless you crop one to match. The single biggest fix for "my combined photo looks weird" is matching orientation before merging.
2. Pick horizontal or vertical. Horizontal (left/right) is the right default for comparison work because the eye reads that way. Vertical (top/bottom) is the right default for Instagram Stories or when both photos are landscape and you want a square or tall output.
3. Pick spacing. Default to a 4-8 pixel white gap between the photos. It reads as "two separate moments." Zero gap reads as "this is one wider scene." A thick colored border or shadow reads as Pinterest 2014. Most tools default to one of these; pick the one that matches your house style.
4. Match exposures if needed. If one photo is bright and one is dark, the eye can't compare them cleanly. Most modern tools have a one-tap auto-balance. Use it. This is the single step nobody mentions in "how to combine two photos" guides.
5. Export at the right destination size. Combining at full resolution and then resizing later is the slow path. Pick the destination — Instagram, GBP, text message, print — and let the tool crop and resize as part of the export. Saves an entire second round of work.
That's the technique. Now the tools.
The Tool Categories You'll Run Into
I've tried about a dozen tools across iOS, Android, browser, and desktop over the years. Rather than calling out individual product names, here are the patterns. If you've shopped around, you'll recognize them.
The freight-train-to-deliver-a-pizza category. Big general-purpose design tools that can absolutely combine two photos into one, but the editor was built for presentations, posters, and marketing collateral. Two-photo merge gets done. But to get there you wade through templates, brand kits, animation panels, and a Pro upgrade nag. Overkill for ten seconds of work.
The signup-wall category. Free to upload. Free to edit. Not free to download. You hit the export button and a modal asks for your email. Then they email you. Then they keep emailing you, even after unsubscribe.
The watermark-on-your-own-work category. Free tier produces the combined photo, but stamps the tool's logo across the corner. Your business; their brand. Pay to remove.
The big-pro-software category. Photoshop, Affinity Photo, GIMP. Genuinely good at this job; massive overkill for one pair. Worth it only if you batch hundreds.
The honest-free category. A small number of browser tools that just let you upload, merge, and download. They exist; they're rare; many of them have UI that looks like 2014 shareware. The pattern is honest. The polish often isn't.
The influencer-tool-priced-for-influencers category. A photo-combining app charging $14.99/month for what should be a one-time tap. Built for content creators with sponsor income; priced like it. Owner-tier businesses shouldn't pay this.
The trick is finding a tool that's in the honest-free category but with a UI that doesn't look abandoned. That's the gap Hosted Snap is trying to fill — no signup, no watermark, no upsell wall, and a UI that someone actually maintained in the last six months.
The Phone Path
Most people who search "combine two photos into one" are on their phone when they type the query. The phone path matters more than the laptop path for this job.
On iPhone, the cleanest native option is the built-in Shortcuts app's "Combine Images" action. One-time setup, then one tap from the share sheet forever. The full step-by-step is in the how to put two pictures together on iPhone guide. The other iPhone options — Markup hack, Layout from Instagram, paid App Store apps — all work but trade quality, signup walls, or watermarks for convenience.
On Android, the answer depends on which manufacturer made your phone. Samsung's Gallery has a built-in collage maker. Google Photos has a Collage option that defaults to grid layouts. Stock Android with no manufacturer skin usually has nothing. The full breakdown lives in how to combine photos on Android. The honest answer for most Android users: open a browser and use a web tool. Adding an app install for a one-tap workflow doesn't pay off.
Cross-device users, browser tool wins. Same URL works on iPhone, Android, iPad, laptop, Chromebook. You don't relearn a different app on every device.
The Laptop / Desktop Path
If you're already at a computer, the laptop path opens up a couple of options the phone path doesn't have.
Browser tools work the same on desktop as on mobile. Drag-and-drop is nicer with a real mouse. Output goes straight to the Downloads folder.
Preview on macOS has a hidden trick: you can select two image files in Finder, right-click, hit "Create PDF," and you've got a one-page PDF with both images. Not a real combined JPEG, but enough for some uses.
Photoshop, Affinity Photo, GIMP all combine two photos into one with full control. If you're already in one of these tools for other work, finishing the job there makes sense. Opening it from scratch for one pair doesn't.
Photos for macOS does NOT have a built-in combine feature, despite three years of people asking for it on Apple forums. The macOS Shortcuts app does. Same Combine Images action as on iPhone, runs natively on the Mac.
The Layout Choices That Make a Combined Photo Look Professional
The mechanical part of combining two photos into one is easy. The creative part — making it look like a real comparison and not a 2014 collage — is what separates a post that gets engagement from a post that gets scrolled past.
Before goes on the left. Always. The eye reads left-to-right. Reversing it makes the after look like the before. Don't get cute with this for variety.
Crop both to matching framing. If your before is a wide pull-back shot and your after is a close-up, you're showing two different scenes, not one comparison. Crop the wide shot to match the close-up before merging.
One thin white gap. That's it. No colored borders. No drop shadows. No "BEFORE" / "AFTER" stamped in bold sans-serif. The split itself communicates the contrast. Adding visual clutter weakens it. Meta's own guidance for Facebook and Instagram visual posts says the same thing — keep "the visual story clean" — see Meta Business Help for the platform-level guidance.
Match the time of day. Shoot the after at the same time of day as the before when you can. Same shadow direction, same color temperature. A 10 AM before and a 6 PM after are doing two different jobs.
Skip the giant labels. No "BEFORE" in 80pt Impact font over the left half. The reader can see the difference. The label says "I don't trust you to notice."
How a Cleaning Business Actually Uses This
Top Care Cleaning has been in my family since 1980 — my dad and uncle started it. My brother and I run it now. Every visible-result job we do — pressure washing, gutter cleaning, roof cleaning, carpet extraction, window cleaning, Christmas lights — produces a before/after pair.
We post 30-40 of them a month across our Google Business Profile, Facebook, and Instagram. Before/afters are the highest-engagement content we run by a margin that's not even close. Stock photos and tip graphics don't compete. Customer testimonials don't compete. Nothing competes with a visible result.
Here is the actual phone workflow we land on once people stop fighting it:
Phase 1: capture. Tech pulls up to a job. Wide phone shot of the dirty driveway, no filter. Finishes the job. Same shot from the same spot.
Phase 2: combine. Open Photos. Select both. Tap share. Hit a browser tool or the Shortcuts "Combine" button. Output is in the camera roll in about ten seconds.
Phase 3: post. Drop the combined photo into the GBP post for the day, queue it for the next Instagram slot, send to the customer if they want a copy.
Total time added to the job: under two minutes. Total annual hours saved versus the laptop-and-Photoshop workflow: 150-230 hours in our case. That's not exaggeration. The compounding is enormous because the per-pair savings are small but the volume is big.
If you run pressure washing, soft wash, window cleaning, gutter cleaning, roofing, carpet, upholstery, tile, landscaping, or any visible-result trade, this is your highest-leverage social content. You don't need a marketing budget. You need a phone and ten seconds per pair.
The next problem is what to do with all these combined photos — captions, scheduling, cross-posting to GBP and Facebook and Instagram without doing it three times. That's a different tool, and it's Hosted Proof. Snap makes the combined image. Proof handles the post.
What About Quality Loss?
Browser tools and phone apps recompress JPEGs by default, which can soften the image slightly. The compression hit is usually invisible on phone screens but can show up on a desktop browser at full size. Three tests to make sure your tool isn't downsampling aggressively:
- Check the output dimensions against your input. If your inputs were 4032 × 3024 each (a recent iPhone photo) and your horizontal output is under 6000 pixels wide, the tool downsampled. Try a different tool.
- Save as JPEG, not PNG. PNG is for transparency. JPEG is for photos. JPEG outputs are smaller and look identical to the eye on standard-resolution phone photos.
- Look at edges. Compression artifacts show up first along sharp edges — text, windows, roof lines. If you see fuzziness or ringing along those edges in the output, the compression was aggressive.
Hosted Snap exports at the lower of your highest-resolution input or your chosen output size, with no extra JPEG compression on top. Most free tools downsample aggressively to nudge you toward paid tiers; honest free tools don't.
FAQ
What's the easiest free way to combine two photos into one?
Browser tool, no signup, no watermark. The setup is opening a URL. The workflow is upload-upload-merge-download. About fifteen seconds end to end. Native phone options (iPhone Shortcuts, Android Gallery) are also free and faster on repeat use but require a one-time setup. Browser is the lowest-friction option for first-time use.
Can I combine more than two photos into one image?
Yes — most tools that combine two photos also handle 3-6 photos in a grid. Past 6, you're into collage territory and need different tools. For pure two-photo before/after work, stick with the two-photo flow. Adding more photos almost always dilutes the comparison.
Will the combined image lose quality compared to the originals?
Slightly, due to JPEG re-compression. The loss is usually invisible at phone-screen sizes and can be minimized by choosing a tool that doesn't aggressively downsample. See the section above on testing for quality loss.
Can I combine photos on Android the same way?
Yes, but the path is different. Samsung Gallery has a built-in collage. Google Photos has a Collage option. Some stock Android builds have nothing native. Full breakdown in how to combine photos on Android.
Is there a free photo combiner app that's actually good?
Yes, a few — most of them are browser tools rather than native apps. Native apps tend to put a watermark on free output. Browser tools more often offer a real free tier. The breakdown of which tools are honest-free and which are signup-walled lives in photo combiner app.
Can I combine photos online without downloading anything?
Yes — that's exactly what browser tools do. Upload, merge, download the result. No software install. The full review of the online-only options is in merge photos online free.
Can I add text or a logo to the combined image?
Yes. Most tools support text overlays and logo placement on a paid tier. Free tiers are usually image-only. For business use, the right answer is a saved brand kit (logo + colors) that gets applied automatically — saves you doing it manually every time. That's what paid tier of Hosted Snap does.
Try Hosted Snap (Free, No Account, No Watermark)
I built Hosted Snap because every option for combining two photos into one had at least one of three problems: built for influencers, gated behind an email capture, or watermarked unless you paid. The free tier is real — no signup, no email, no watermark. Upload two photos, pick horizontal or vertical, download.
If you run a local service business, pair Snap with Hosted Proof for the next step — getting the combined photo onto Instagram, Facebook, and your Google Business Profile on a schedule that doesn't burn your evenings.
About the author
Alex Host is the founder of Hosted Brands and the operator of Top Care Cleaning, a residential and commercial cleaning business his father and uncle founded in Grand Rapids, Michigan in 1980. He spent three years burning a month of his life every year combining before/after photos in Photoshop before realizing the phone was the answer. He builds software tools for local service businesses because every off-the-shelf option was either built for companies ten times his size or priced like one. He's building the whole Hosted Stack in public.